This post contains affiliate links. If you click on these links, I may receive compensation at no extra cost to you. ♥
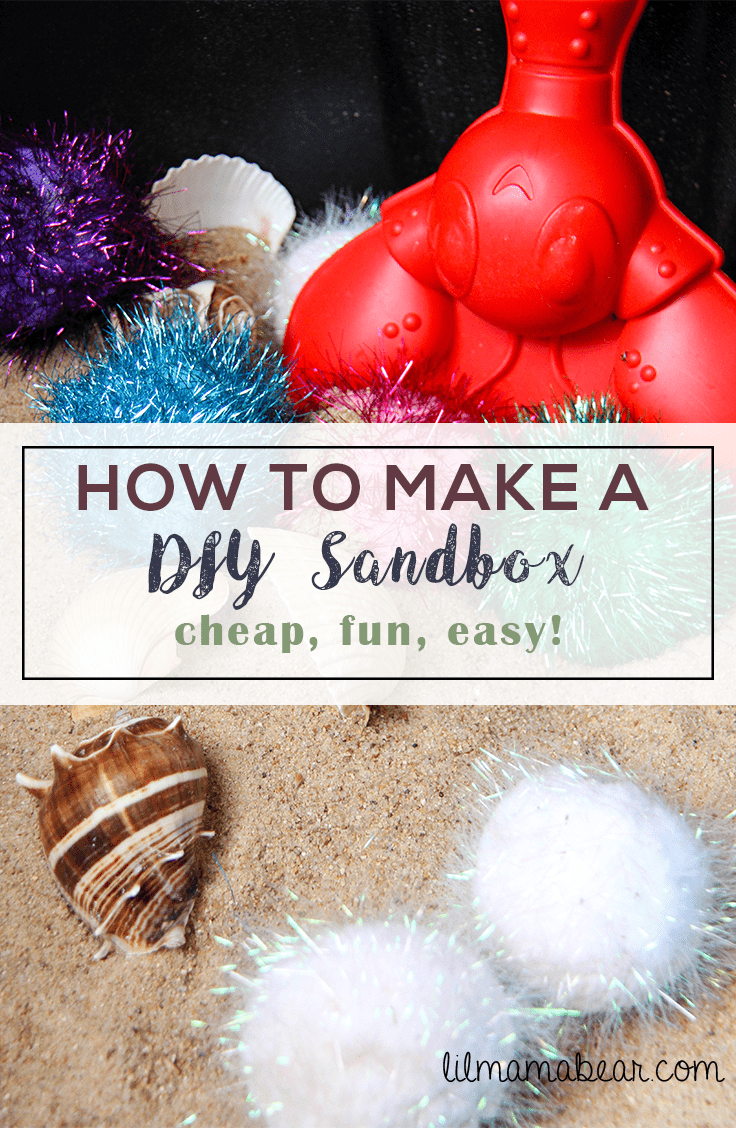
How to Make a DIY Sandbox
cheap, fun, easy!
PLUS: Free Activity Printable!
Anyone who knows me can attest to the fact that I like things simple. I don’t like a lot of options. While I want quality, I don’t want to spend a lot of money. I want my child to have toys that are developmentally appropriate and that use authentic materials for play. All of these facts led to our decision to create a diy sandbox.
Why kids need a sandbox
It’s common to see a sandbox in the yard of a small child – but why? One reason why a sandbox has become such a key piece of backyard equipment is the sand itself! When dry, sand is rough and gritty, but when it’s wet, sand becomes like mud. It can be poured like water or clumped into a ball. These varying properties make sand a fascinating substance for children!

All about the senses!
If you’ve read my post on how to create a water table that doesn’t cost $75, you know all about sensory play. Small children use their senses to explore and understand the world around them. Of course we all use the senses of touch, smell, taste, sound, and sight to learn. However, from birth to elementary school, children can only learn based upon the direct interaction with these senses. For example, when a toddler hears a train, she does not immediately think “That is a train far away that is going along on a train track.” All that toddler knows is “I heard a sound.” She would need her mama to tell her, “That sound is a train far away. A train goes, ‘choo choo’.” Then she would know that the sound she hears is linked to another bit of information: that there is a train she cannot see but can hear.
Toddlers need guidance from adults to understand the senses and to go beyond sensory learning. Sensory exploration is the first step. Through play, a toddler can explore the senses in a way that is meaningful to them. You might look at a 2-year-old playing in a sandbox and simply see a two-year old holding, scooping, even eating sand. What you don’t see is that this 2-year-old is actually carrying out a science experiment. He has encountered a substance that is interesting to him, so he uses his other senses to explore or “experiment” with the substance. “What will happen if I touch this substance? Oh, it feels different from anything I’ve felt before. What will happen if I taste this substance? Oh, it tastes yucky but feels funny in my mouth.”
This type of learning is the most meaningful because it is guided by the child’s own interests. Children are innately curious (we all know that from the countless “whys”, am I right?). Creating an environment that fosters exploration through the senses provides your child with all the tools to begin his learning journey.

Why did I choose diy?
In short, it was cheaper to make a diy sandbox. Like with my water table, I wanted something convenient and inexpensive that would also be fun for my little. A quick search on Amazon will show that the average sandbox costs around $80. This is for a sturdy box that doesn’t look like it will fall apart any minute. I don’t know about you, but I look at those prices and go…nah fam.
Instead, I went to Lowes and found this bad boy for a mere $12!! Sand cost me about $4 for 50-pounds at Lowes (you can also buy play sand from Amazon here, it’ll just cost you a lot more than a quick try to your neighborhood hardware store!). Put the two together, and bam! We had our diy sandbox.
What’s my current tab? About $16.
And done.
I don’t know about you, but I think that’s a diy win right there.
How to make a diy sandbox
What you’ll need:
- a 27-gallon storage container with lid (This is my favorite from Amazon
, but you can get it at Lowes here as well)
- 20-30 pounds of play sand (Find it here at Lowes)
- toys (I like these seashells from Amazon
– They’re large enough to not be choking hazards)
- cups (I used some extra plastic ones from the kitchen)
- balls (I found some giant glittery pom poms at Hobby Lobby for about $3/pack – they’re squishy and soft!)
- shovel and pail (of course, it’s a beach classic)

Yes, it is that easy. No, it won’t be shaped like a cute sea turtle, but you will be able to quickly pop that lid on when the kiddos are done playing in it. I love how easy to maintain this diy sandbox is! I’m not worried about it getting filled with water during a rainfall because of the lid’s tight seal. I’m a fan of anything that gets the job done at a low cost, and I’m willing to sacrifice cuteness to get there!
Another plus to this diy sandbox is you can easily move in wherever and whenever. The storage bin is designed to hold heavy items and to be carried, making it super easy to move around. We usually keep ours on the back patio, but when it’s a nice day I sometimes scoot it out into the sunshine.
After you have your diy sandbox ready to go…
Now that you have your incredible diy sandbox lifehack and are praising the Lord for my incredibly cheap simplicity… What do you do with it? You can’t simply toss your kiddos inside and wish them a jolly time. Especially with the littles, a huge amount of guidance is needed, even in play. Yes, sensory exploration is directed by the child. But it is when you as the parent intervene that exploration becomes valuable learning. Remember the little girl who heard the train!
Free printable preschool games
Here I have compiled a list of 6 preschool activities you can use with your diy sandbox! Along with each activity, I have also included key vocabulary terms to use as well as three main developmental goals. These goals include affective, language, and motor development and are geared towards preschoolers age 1-4 years old. It’s true what they say that schooling starts at home! If you want in on a little secret, you are actually teaching your kids every day at home! You might even call that…homeschooling. *gasp*


I hope you’ve enjoyed this diy sandbox project! Let me know how it works out for you.
What’s something you’ve diy’ed the crap out of? Share with me by commenting below!
Love, Emily XOXO


This is a great idea. My son loves sand and my husband wanted to buy him a sand box, but this is so much cheaper and actually easier to store, so we may give this a try. Thanks for sharing!
This looks so easy! Since it’s getting warmer i’ve been trying to plan extra playtime so this will be a great thing to keep my little one entertained!
Great idea!!! I think I am convinced to do this for my little boy!! <3
Love DIY projects! It so fun when they’re completed. I’ll have to remember this project for when my little one gets older. 🙂
I made it for her 1st birthday party since it was The Little Mermaid themed. 🙂
I love this! Definitely going to make it. I’ve been considering buying a sand box but this one is so much cheaper. Plus, you can reuse the box when they grow out of it.
What a great idea! We have done something similar with rocks and vehicles, but I never thought about getting a tall bin that the kids could actually sit in while they play – genius!
I am doing this ASAP! I love this idea! Thank you for sharing!