Planning is one of my favorite things to do, so when we decided that Genny and Nora would share a room, I immediately started mentally planning and organizing. I don’t claim to be a great decorator, but I am sooooo happy with how their baby and toddler shared bedroom turned out! My goal was to keep things from being too cramped, disorganized, and messy. Ultimately, I think we achieved that goal!
Watch the video version of this post!

Budget
If you look on Amazon, you can find super cheap ($180-250) toddler beds similar to the one we made, but they look like they might fall apart the first time your little monkey tries to hang from the railing. On Etsy, sturdy looking beds go for anywhere between $500-550, then you have to assemble them yourself of course. Our whole room remodel took probably $500-600. We had a total budget of $1,000, but some of the funds went to also repair our porch roof and a couple of other areas.
I found this post containing plans to make a toddler bed, but Ryan said some of the plans were incomplete. If he has the time in the near future, we’ll put together a post on exactly how to make the toddler bed. We chose to make it fit to a twin size mattress so it will last Genny longer, and fortunately my in-laws had an extra twin they were trying to get rid of. That shaved off some of our budget, which was great! Alternatively, you can make this bed to fit a toddler size mattress
Wood and hardware (Home Depot & Ace Hardware) – approx. $250
Paint (Sherwin Williams primer and paint) – $107
Rug (Ross) – $20
Sheets (Kohl’s) – $16
Misc – approx. $60
T – approx. $453
DIY Remodel
In all, our project consisted of the following:
- Building the toddler bed from scratch
- Painting the crib
- Painting the changing table
- Adding a few decorative/organizational pieces to the room
Toddler Bed
I got the idea for the toddler bed from the same place I get all my seemingly creative ideas – from Pinterest. I drew from a couple of different pins, then found that blog post I mentioned before. Finally, I sent all the info to Ryan and said, “Make this happen. Please.”
As usual, he did not disappoint! We decided to make the mattress lie flat on the ground (because why not), and I wanted the frame to be super-simple. The plans had an optional chimney you could add, but we decided to just make the simple house frame. I definitely wanted to have the railings that went all the way around so we didn’t have rolling-out-of-bed issues on top of the already difficult transition from crib to bed.

Most of the cutting, gluing and drilling happened in the garage, but to assemble everything Ryan brought it into the room (obviously it wouldn’t fit through the doorway like this). This is where we also sanded, primed, and painted it.
Painting changing table and crib
When I list everything we did over the course of three days, it doesn’t sound like that much. But it was so extremely frustrating painting that dang changing table!!
I watched YouTube videos on how to paint laminate, I read every blog post I could find…all of them said that with a good washing, a light sanding, a solid primer, and a good coat of paint, it should be fine. One word that kept coming up was “TSP Alternative”. Most places said to wash your furniture with this mysterious pink cleaner before priming. Well, I didn’t have any of that stuff on hand, so I searched for alternatives to this harsh chemical cleaner. The results said that a combination of lukewarm water and borax should do the trick, and hey I had those things!
So I scrubbed it down with the Borax mixture, dried it, sanded it with sandpaper (by hand), then applied the primer. Below is what it looked like when the paint started to “dry”.

I had never seen anything like this before. The primer was not adhering to the wood, and instead created a bubbly looking effect on the laminate. Gahhhhhhhhh.
I tried a couple more coats of primer, and it still looked horrible. So I cried a little and complained a lot, and finally Ryan went back to Home Depot for TSP Alternative and also came back with a paint stripper.
What ended up working
Because I started with the changing table, I knew what not to do with the crib. I went ahead and started the crib by cleaning it with TSP, then I used a power sander to eradicate that coat of laminate. THANK THE LORD this method proved to be much, much more effective, and even though both the crib and the changing table were made of the same material, by using this different method we got a beautiful, even coat of paint the first time around.
 Eventually, after Ryan stripped off the primer I had applied, cleaned it with TSP, then power sanded it, we were able to get a decent coat of paint on the changing table. The backing was made of some really smooth, shiny wood…substance, and no matter what I did I couldn’t get the paint to stick to that, so I invested $6 in a roll of beige, sticky wallpaper from Wal-Mart and cut it to fit the squares in back of the cubbies. Oh well.
DIY Decor
Lately I’ve been dappling in macrame and other crafty projects. We’ll see if it goes anywhere.
Genny needed a place to display her pretty bows, and I also wanted some place to hang Nora’s headbands (I had a lot of them after my baby shower!). Here’s what I came up with:

Bows: Little Butt Bowtique
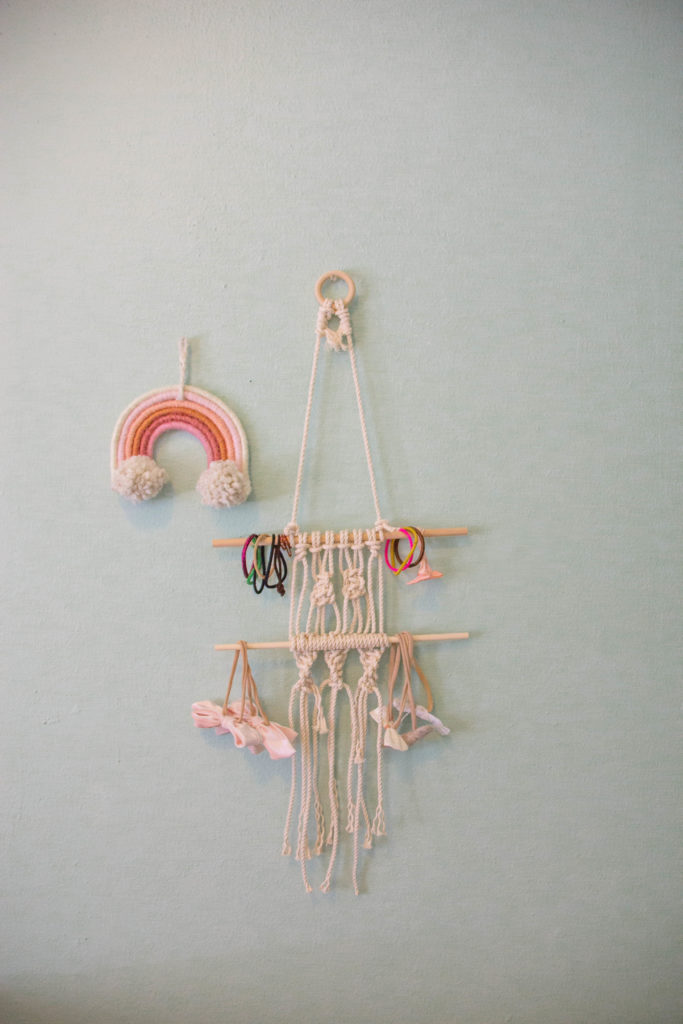
Rainbow: Wolf Dew Headbands: Little Butt Bowtique & Simply Willow Designs
I still don’t consider myself to be an expert “crafter”, but if you want some DIY tutorials on how to make these bow/headbands holders, let me know!
I also made this wall art, which I am completely obsessed with! It was stupidly easy to make, and I would be glad to make a tutorial for this as well.

Baby and Toddler Shared Bedroom Reveal


My best friend painted this wall art as a gift for Genny’s baby shower – still one of my favorites accents in the room!

I love this wall decal we got before Genny was born! I don’t even think they make them anymore.

Pillow: Ander’s Attic Lounger: Snuggle Me Organic Doll: BabySoy Sheets: Margaux and May

She loves her new bed!

Video monitor: Lollipop Camera Elephant: Pottery Barn

Pillows: Bla Bla Kids & Little Sleepie Heads Sheets: Kohl’s Quilt: Homemade from her Grammy Jo

Cubbies: Babies R Us Banner: Homemade by a friend Rug: Ross
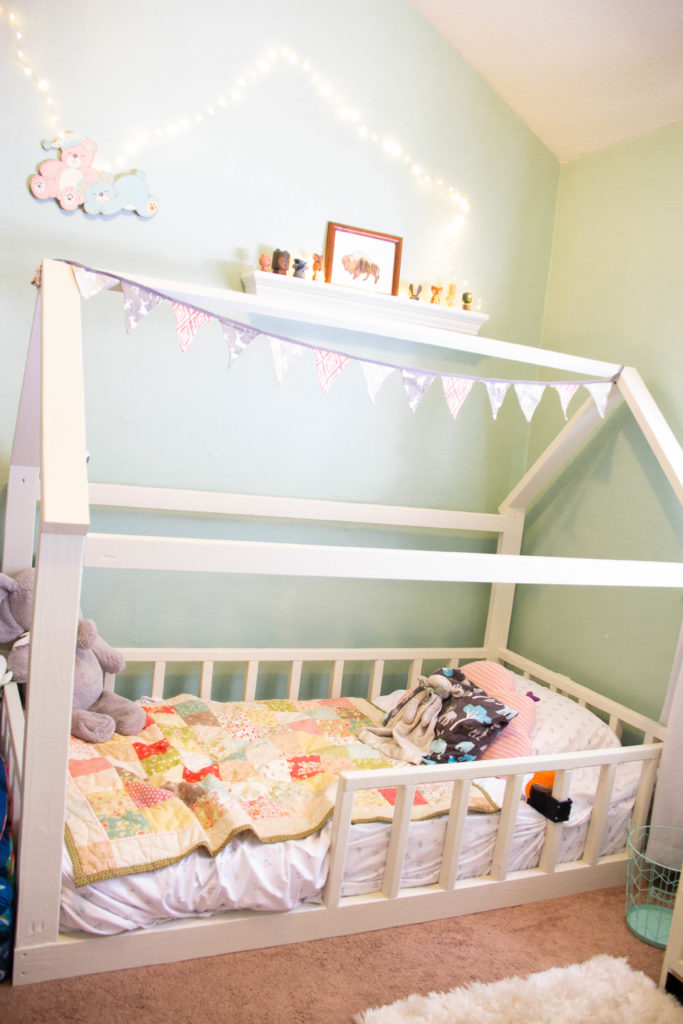
You can see the cup-holder Ryan 3D-printed for her – she kept losing her cup at night, so he made that for her, and she is so thrilled by it!

Reading nook in the works – We’ll be adding floating bookshelves down low where she can reach them. For now, Ladybug and Dora are enjoying the little couch.

The figurines were a shower gift when I was pregnant with Genny, and the buffalo painting is from my friend (referencing Genny’s nickname “Baby Buffalo”)
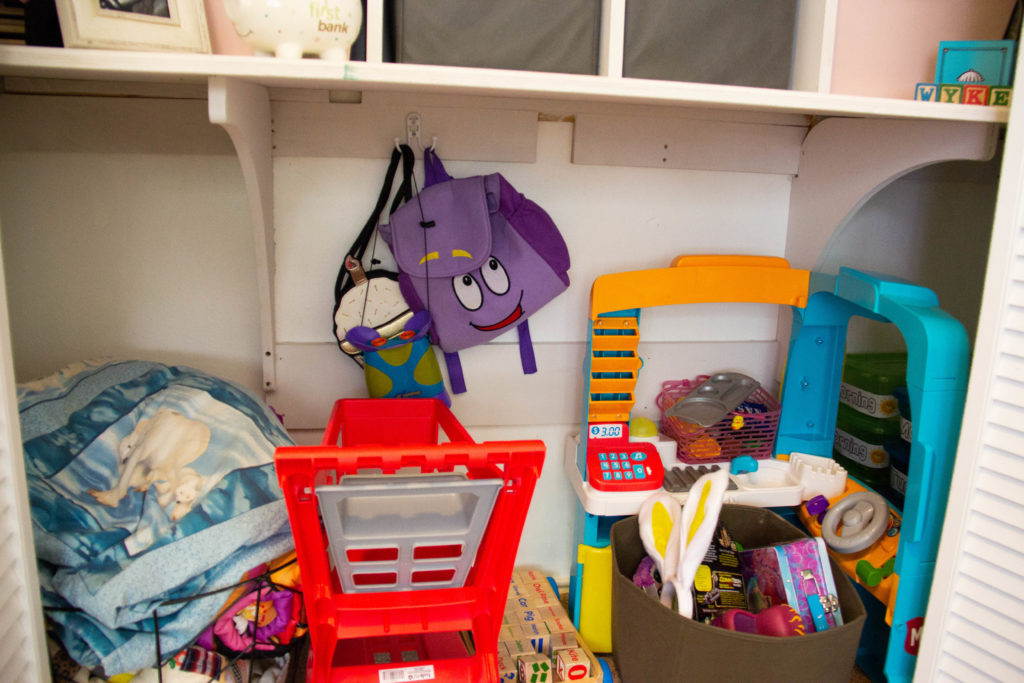
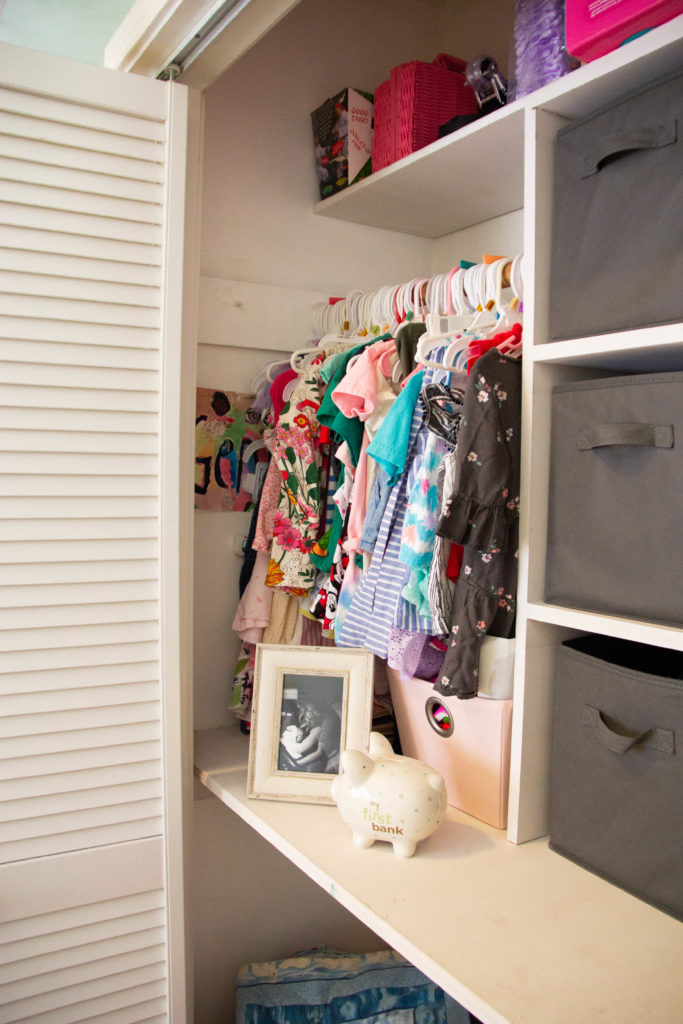
This space worked out so perfectly with the hooks! I have since moved her activity boxes into the attic to make room for some baby things, but I love how all her toys fit so nicely in here!
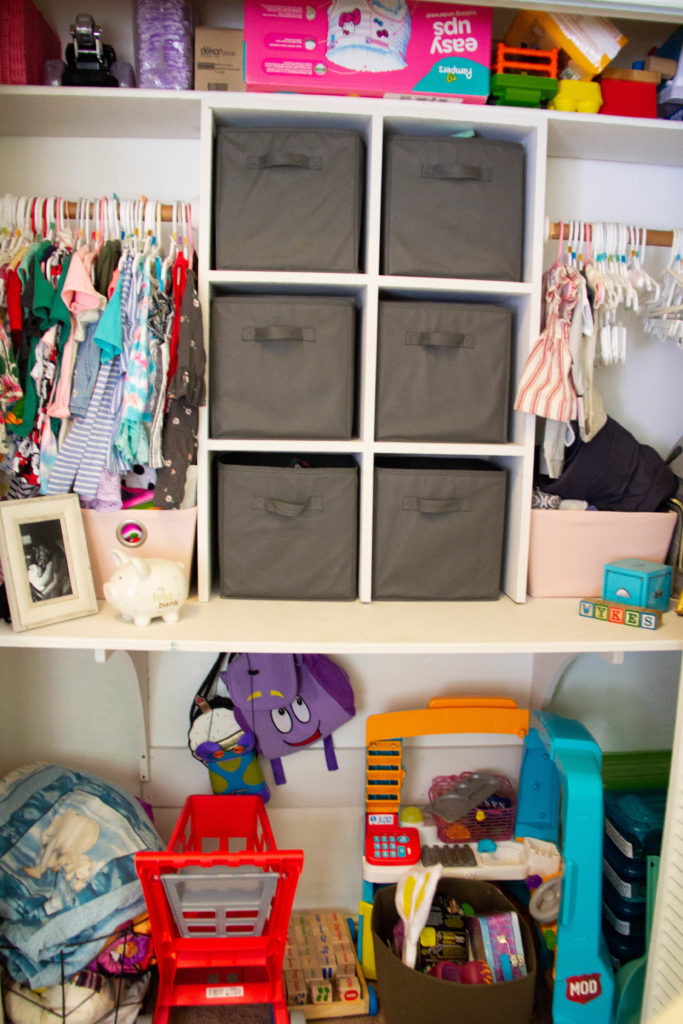
Ryan built these cubbies before Genny was born when I found yet another Pinterest idea. I love all the storage, and it’s perfect now for the girls to share!
Genny’s side

Nora’s side

Just waiting for a baby!

Would you like some tutorials with this post? Share with me by commenting below!
Love, Emily XOXO


What People Are Saying